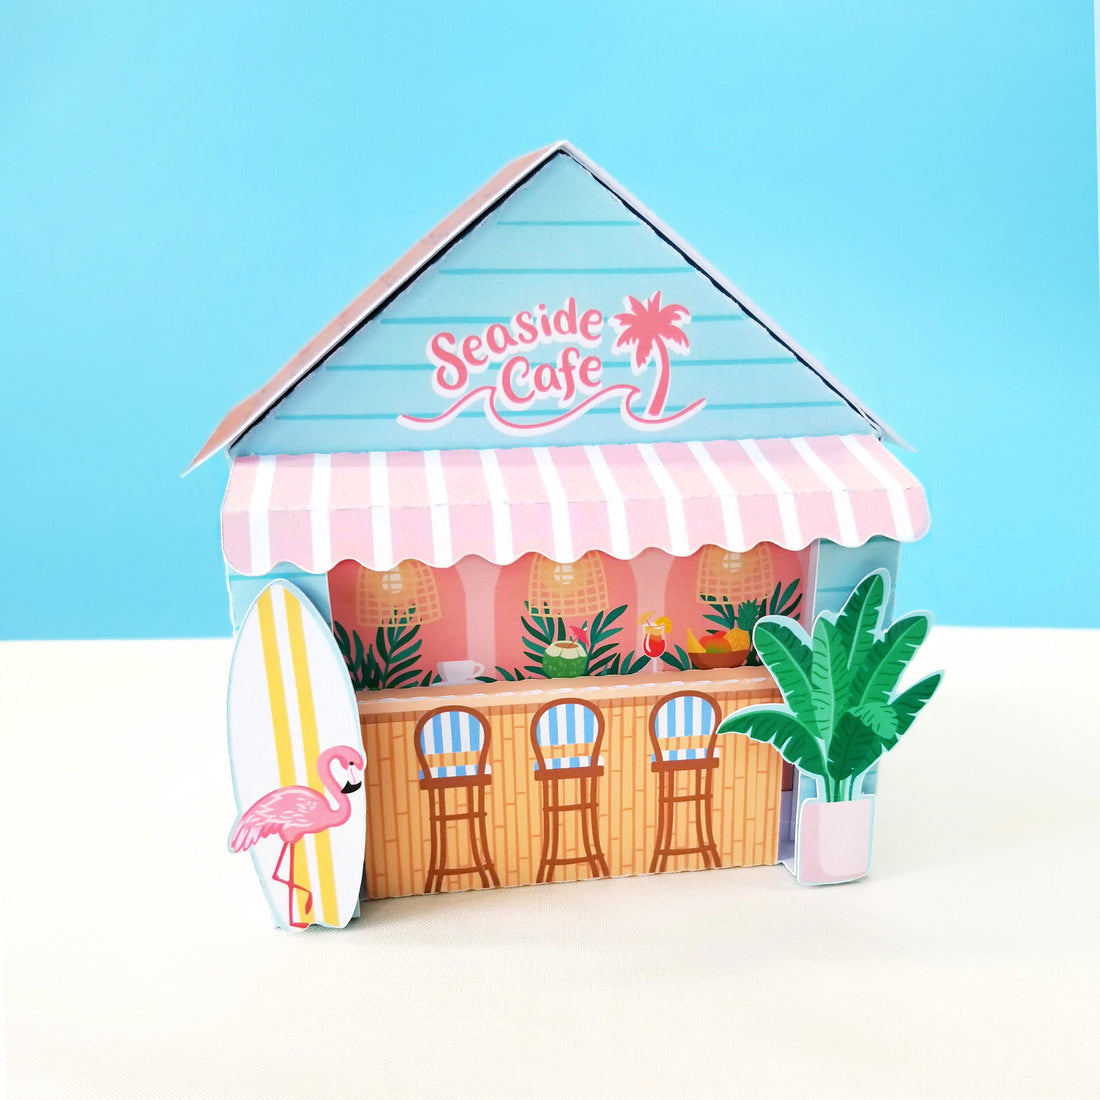
Bringing you the all the summer vibes with our latest free project! This print and cut Seaside Cafe 3D box is designed for Silhouette and Cricut machines. Please note, you will need either Silhouette Studio Designer to open SVG files or Cricut Design Space. This project is for personal use only. Happy Crafting :)


Materials:
- 8.5" by 11" white matte photo paper or cardstock (65lbs-80lbs)
- Colour Printer
- Strong glue or double-sided tape
- Adhesive foam strips or squares (*optional)
- Silhouette or Cricut Cutting Machines
- Silhouette Studio Designer or Cricut Design Space
- A debossing tool or scoring wheel for Cricut
DOWNLOAD SVG files below>>>
Silhouette Seaside Cafe 3D Box SVG files
Cricut Seaside Cafe 3D Box SVG files
Download and unzip the SVG file for Silhouette. Open the SVG in Silhouette Studio Designer and follow along with the file setup video below. Group each image with the cutlines before moving any elements. Add the registration marks and make adjustments as needed. Be sure the image is within the registration guides before printing. If you have issues with the cutlines showing up on your prints, try selecting the cutlines and changing the transparency to 100%. The full design will fit onto 3 letter size sheets of matte photo paper or cardstock. You're cut settings will depend on the sharpness of your blade and your paper weight, but in general you can choose a heavy cardstock setting. Once you're done printing and cutting, check out the box assembly video :)
Download and unzip the SVG file and PNG files for Cricut and follow along with the file setup video. Upload the SVG and add it to a new canvas. Next upload each png, choose flat image for each one. Move the cutlines above all the images. Scale each down, the size for each image is included in the video. Align each image with the cutlines. Once everything is aligned, select all the inside lines and change the operation type to score or deboss or perforation, depending on which tool you have. Next delete the outside cutlines, if you don't Cricut may cut each image twice. Select the cutlines and the matching image and 'Attach.' Click 'Make it' and choose letter size paper. When printing choose add bleed and choose a high quality photo print settings. Follow the on screen prompts to change your cutting and scoring tools as needed. Once you're down printing and cutting, check out the box assembly video :)
Time to assemble your cafe! Start by creasing all the edges. Next apply double-sided tape or glue to the tabs in order. Assemble the base of the box, then attach the bar to the front. Apply the adhesive foam strips to the back of the surfboard and plant, attach these to the front of the bar. Then attach the awning and the roof. Insert your goodies and close via the side of the box. And you're done!! We hope you'll enjoy your Cafe box. Join us on instagram to see the latest designs and projects :)


