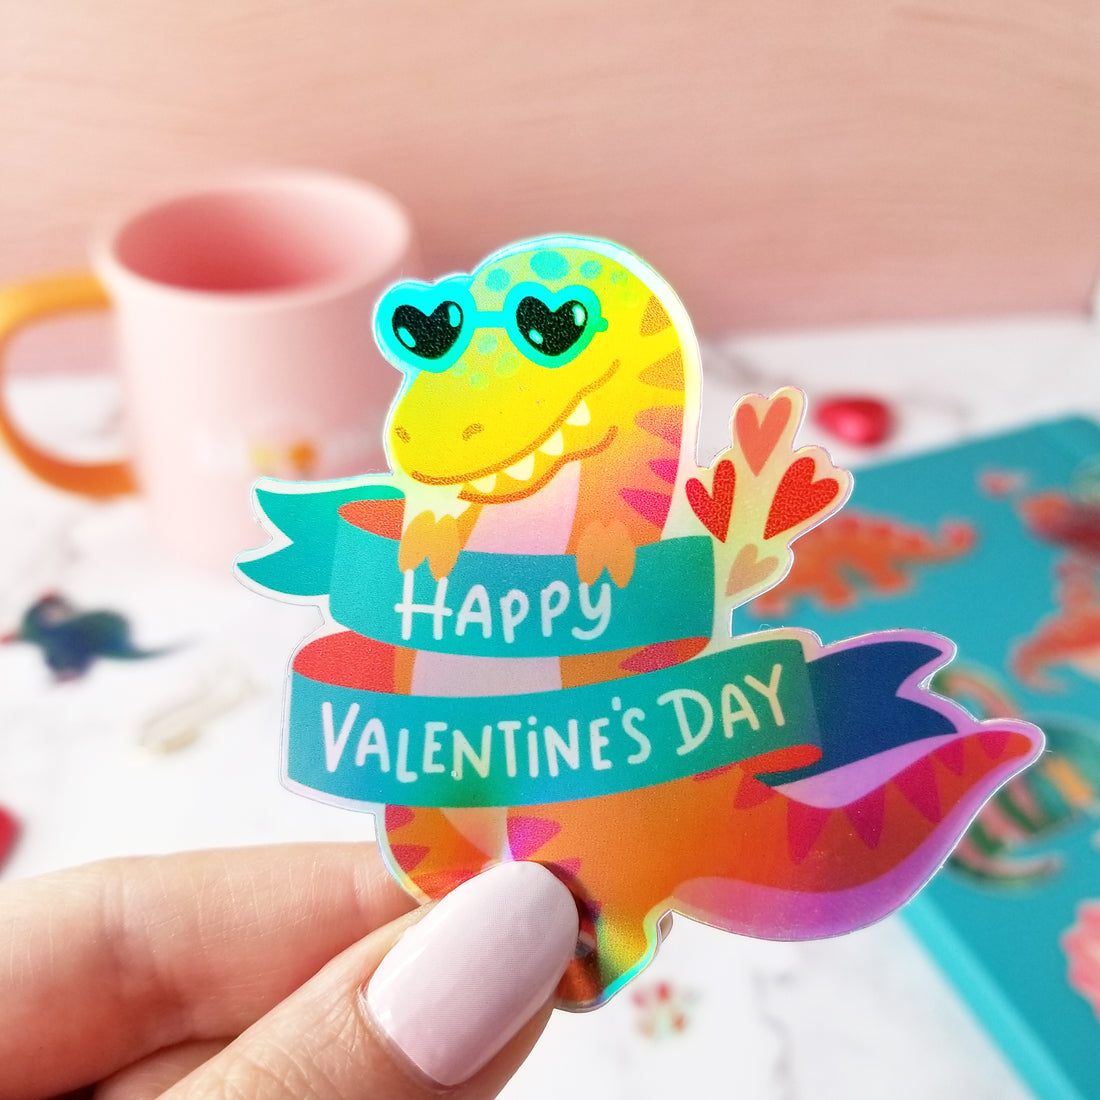
A quick and easy walk through on how to make you own stickers using your Silhouette machine (note: the same process will work for Cricut machine users). Here we go!
Supplies:
- Silhouette Cutting Machine
- Colour printer
- Silhouette holographic sticker paper (or any sticker paper of your choosing)
- SVG sticker design file
Step1: Download and open your SVG sticker file in Silhouette Design Studio software. We're using the designer version but the basic version should work fine. Today we are using our new 'Dinosaur Valentines Sticker Set' . This set can be purchased from our shop page or through the Silhouette Design Store.

Step2: Select the Design tab in the top right and go to Page Setup. Check Registration Marks on. Note: Make sure the designs fit inside the registration marks on the page. If not click on Advanced Options and adjust the registration guides to the correct position.

Step3: This step is more of a precaution to avoid your cutline being printed. If you don't have the issue with your red cut lines showing up when you print your stickers you can skip this step. Select around the sticker set, go to Line Style and change the transparency to 100. (Don't worry you can always change this back to full transparency whenever you like).

Step 4: Hit print and go into your printer settings. These settings will of course differ depending on your printer but these are the setting we use on a Canon Expression home printer. The import thing is to make sure your printing at a high quality, we find choosing photo printing gives us the best colour prints.

Step 5: Click Send cut job. Select your material type, in this case holographic sticker paper. The blade setting of 4 will give you a kiss cut sticker meaning it will only cut the sticker material not the backing. We like to use a deeper setting of 6 to cut all the way through so we can have individual cutout stickers. Note: your blade setting will depend on the sharpness of your blade so make sure to test before hand, you don't want to cut through your mat :(

Step 6: Align your sticker sheet onto your cutting mat. We're cheating here and using a Cricut cutting mat just because we find they are more durable than Silhouette mats...shhh. Once your sticker paper is on the mat go ahead and feed it into your machine. Note: before you send to cut make sure you have good lighting so that your registration marks are read properly! We usually have our room lights on plus a desk light above the silhouette machine when cutting.
Step 7: Remove from mat and enjoy your stickers!


